
Renovating your shower yourself can save thousands of dollars while giving your bathroom remodel a fresh, modern look. A DIY shower renovation lets you control the design, materials, and timeline, but it requires careful planning and the right skills. Whether you want to replace old tile, upgrade fixtures, or completely rebuild the space, this guide walks you through everything you need to know to successfully renovate your shower on your own.
Why Choose a DIY Shower Renovation
A shower renovation ranks among the most rewarding home improvement projects because it delivers a high return on both comfort and property value. Handling the work yourself cuts labor costs, which often make up half of a professional remodel’s price. Beyond the savings, a DIY approach gives you full creative freedom to choose tile patterns, shower heads, and layouts that match your personal style.
That said, honest self-assessment matters. Some projects, like swapping a shower head or regrouting tile, are beginner-friendly. Others, such as moving plumbing lines or waterproofing a custom walk-in shower, demand advanced knowledge. Knowing your limits protects you from costly mistakes and water damage down the road.
Planning Your Shower Renovation
Every successful renovation starts with a solid plan. Begin by measuring your existing shower space and deciding what you want to change. Are you replacing a tub with a walk-in shower, updating outdated tile, or simply refreshing the fixtures? Your goals will shape your budget and material choices.
Set a realistic budget that includes a cushion for unexpected expenses. Old bathrooms often hide surprises like water-damaged subfloors or corroded pipes behind the walls. Experienced remodelers recommend adding fifteen to twenty percent to your estimate for these hidden issues. Research your local building codes as well, since many areas require permits for plumbing and electrical work. Skipping permits can create problems when you sell your home later.
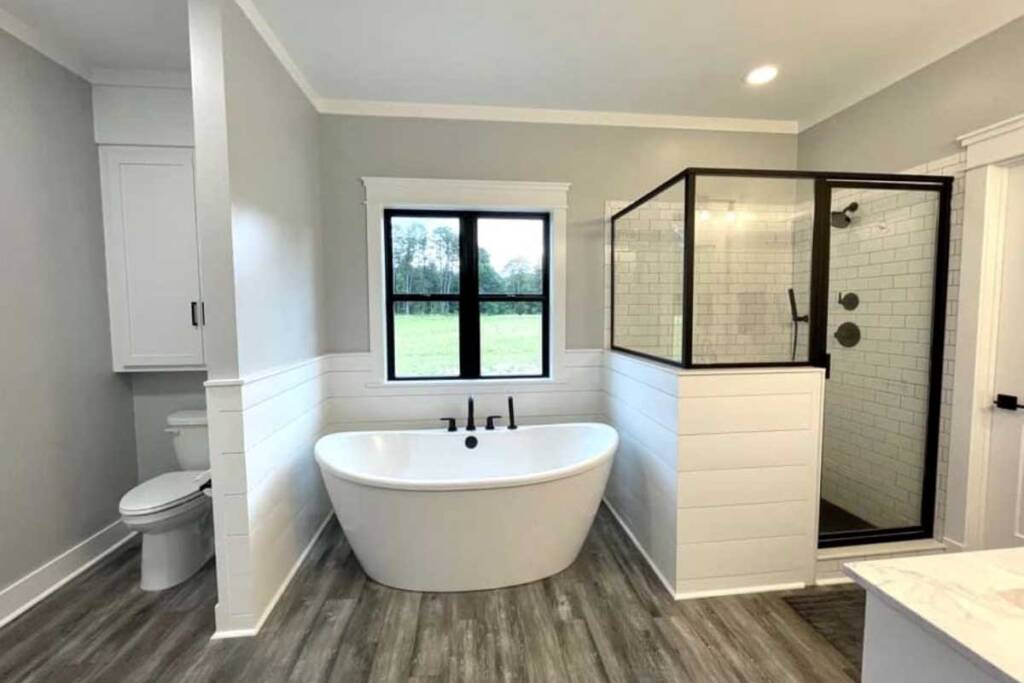
Essential Tools and Materials
Gathering the right tools before you start keeps your project moving smoothly. For most shower renovations, you will need a tile cutter or wet saw, a notched trowel, a level, a drill, a caulk gun, and safety gear including gloves and eye protection. Depending on your project scope, you may also need a pry bar for demolition and a stud finder for locating wall framing.
Material selection deserves careful thought. Porcelain and ceramic tiles remain popular for their durability and water resistance. Cement backer board provides a stable, moisture-resistant surface for tile installation, while a quality waterproofing membrane prevents leaks behind the walls. Choose a mold-resistant grout and a silicone caulk rated for wet environments to extend the life of your renovation.
Step-by-Step Renovation Process
The renovation begins with demolition. Carefully remove the old tile, fixtures, and any damaged drywall or backer board. Wear protective gear and work slowly to avoid damaging plumbing lines hidden inside the walls. Once the space is cleared, inspect the framing and subfloor for water damage and repair anything compromised before moving forward.
Next comes waterproofing, which is arguably the most important stage of any shower renovation. Install cement backer board across the walls, then apply a waterproofing membrane over the entire wet area. This barrier protects your home from mold and rot, so never rush or cut corners here. Proper waterproofing is the difference between a shower that lasts decades and one that fails within a few years.
With the walls prepared, you can begin tiling. Start from the bottom and work upward, using tile spacers to keep your layout even. Apply thin-set mortar with a notched trowel, press each tile firmly into place, and check your work with a level as you go. Allow the mortar to cure fully before applying grout. Once the grout dries, seal it to guard against moisture and staining.
The final stage involves installing your fixtures. Mount the shower head, handles, and drain according to the manufacturer’s instructions. Apply silicone caulk along all seams and edges to create a watertight seal. Let everything cure before using the shower to ensure a lasting, leak-free result.
Common Mistakes to Avoid
Even careful homeowners make errors during a shower renovation. The most damaging mistake is inadequate waterproofing, which leads to hidden leaks and expensive structural repairs. Another common problem is rushing the tile installation, which can result in uneven surfaces and crooked lines that stand out once the project is complete.
Poor planning around plumbing also causes headaches. Moving a drain or water line without understanding the existing layout can turn a weekend project into a lengthy ordeal. Finally, many people underestimate curing times for mortar, grout, and caulk. Using the shower too soon can undo hours of hard work, so patience pays off in the long run.
When to Call a Professional
While a DIY shower renovation saves money, some situations call for expert help. If your project involves relocating plumbing, rewiring electrical components, or addressing serious water damage, a licensed contractor ensures the work meets code and stands the test of time. Complex custom showers with built-in benches, niches, or multiple shower heads also benefit from professional experience.
Knowing when to bring in help is a sign of smart planning, not failure. A professional can handle the trickiest parts of your renovation while you tackle the tasks within your comfort zone. At LYD Construction, our team offers a full range of remodeling services to support your project at any stage, including Services such as Bathroom, Kitchen, Deck, ADU, Full Home Remodel, and custom home building. Whether you need a helping hand or a complete transformation, professional guidance can make your vision a reality.

Maintaining Your Newly Renovated Shower
Once your shower renovation is complete, proper maintenance keeps it looking fresh for years. Clean the tile and grout regularly with a mild, non-abrasive cleaner to prevent soap scum and mildew buildup. Reseal the grout every year or two to maintain its water resistance and appearance.
Keep an eye on the caulk around the edges and reapply it whenever you notice cracking or peeling. Good ventilation also plays a key role, so run your bathroom fan during and after showers to reduce moisture and discourage mold growth. A little routine care protects your investment and preserves the beauty of your hard work.
Final Thoughts
A DIY shower renovation is an achievable and rewarding project when approached with careful planning, the right tools, and realistic expectations. By taking your time with waterproofing, tiling, and fixture installation, you can create a beautiful, durable shower that adds real value to your home. Remember that some tasks are best left to professionals, especially when plumbing or structural work is involved. With the right balance of hands-on effort and expert support from LYD Construction, your dream bathroom is well within reach.